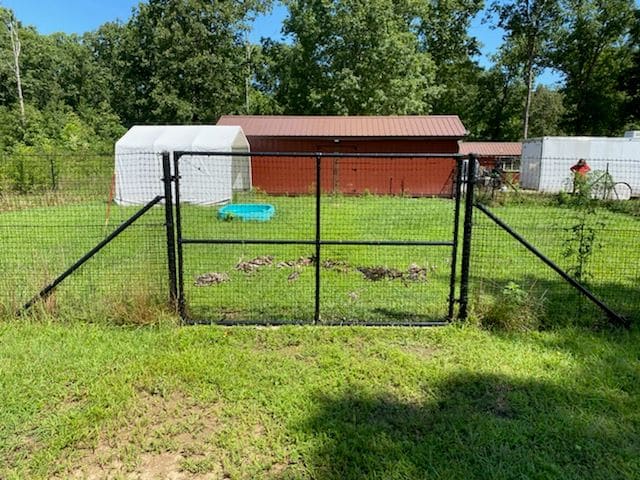
Choose Deer Fence Hardware That Keeps Gates Secure
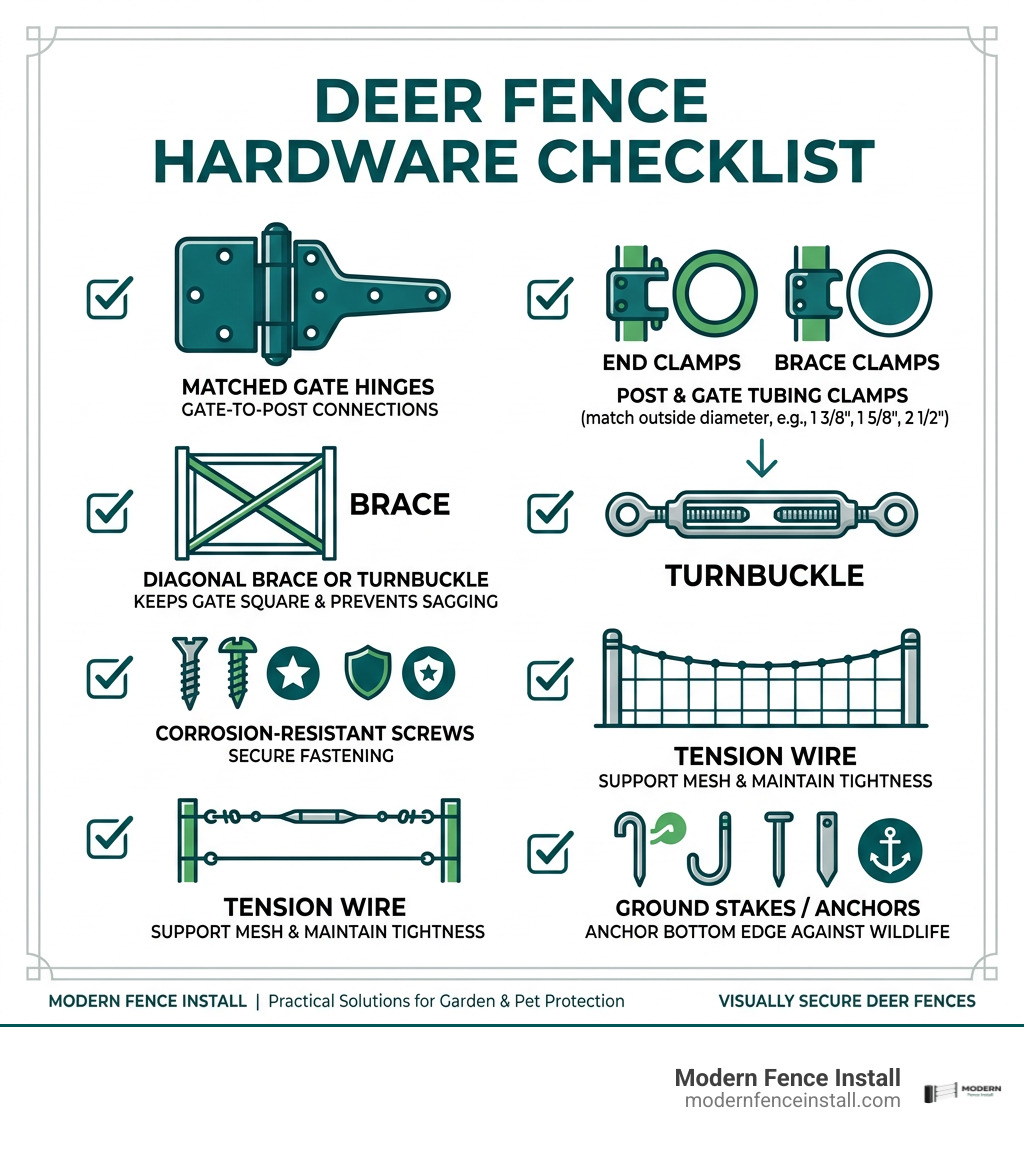
For a durable deer fence gate, start with matched hinges, brace clamps, end clamps, a turnbuckle, and corrosion-resistant screws. Match every clamp and hinge to the outside diameter of the post or gate tubing - common sizes include 1 3/8, 1 5/8, and 2 1/2 inches. Then use a diagonal brace or turnbuckle to keep the gate square and prevent sagging.
The right deer fence hardware does more than hold a gate together. It keeps mesh tight, supports tension wire, anchors the bottom edge against wildlife, and helps a discreet fence continue working through wind, rain, and daily use. For a garden or pet enclosure, buying compatible components up front prevents the frustrating problems of loose gates, rubbing hinges, and mismatched clamps later.
I am Jason Levine, EMT-B, a Senior Consultant at Modern Fence Install. I help homeowners choose practical deer fence hardware for non-electric, low-visibility fencing systems that protect gardens and pets without digging or electricity.
Essential Gate Components and Deer Fence Hardware Kits
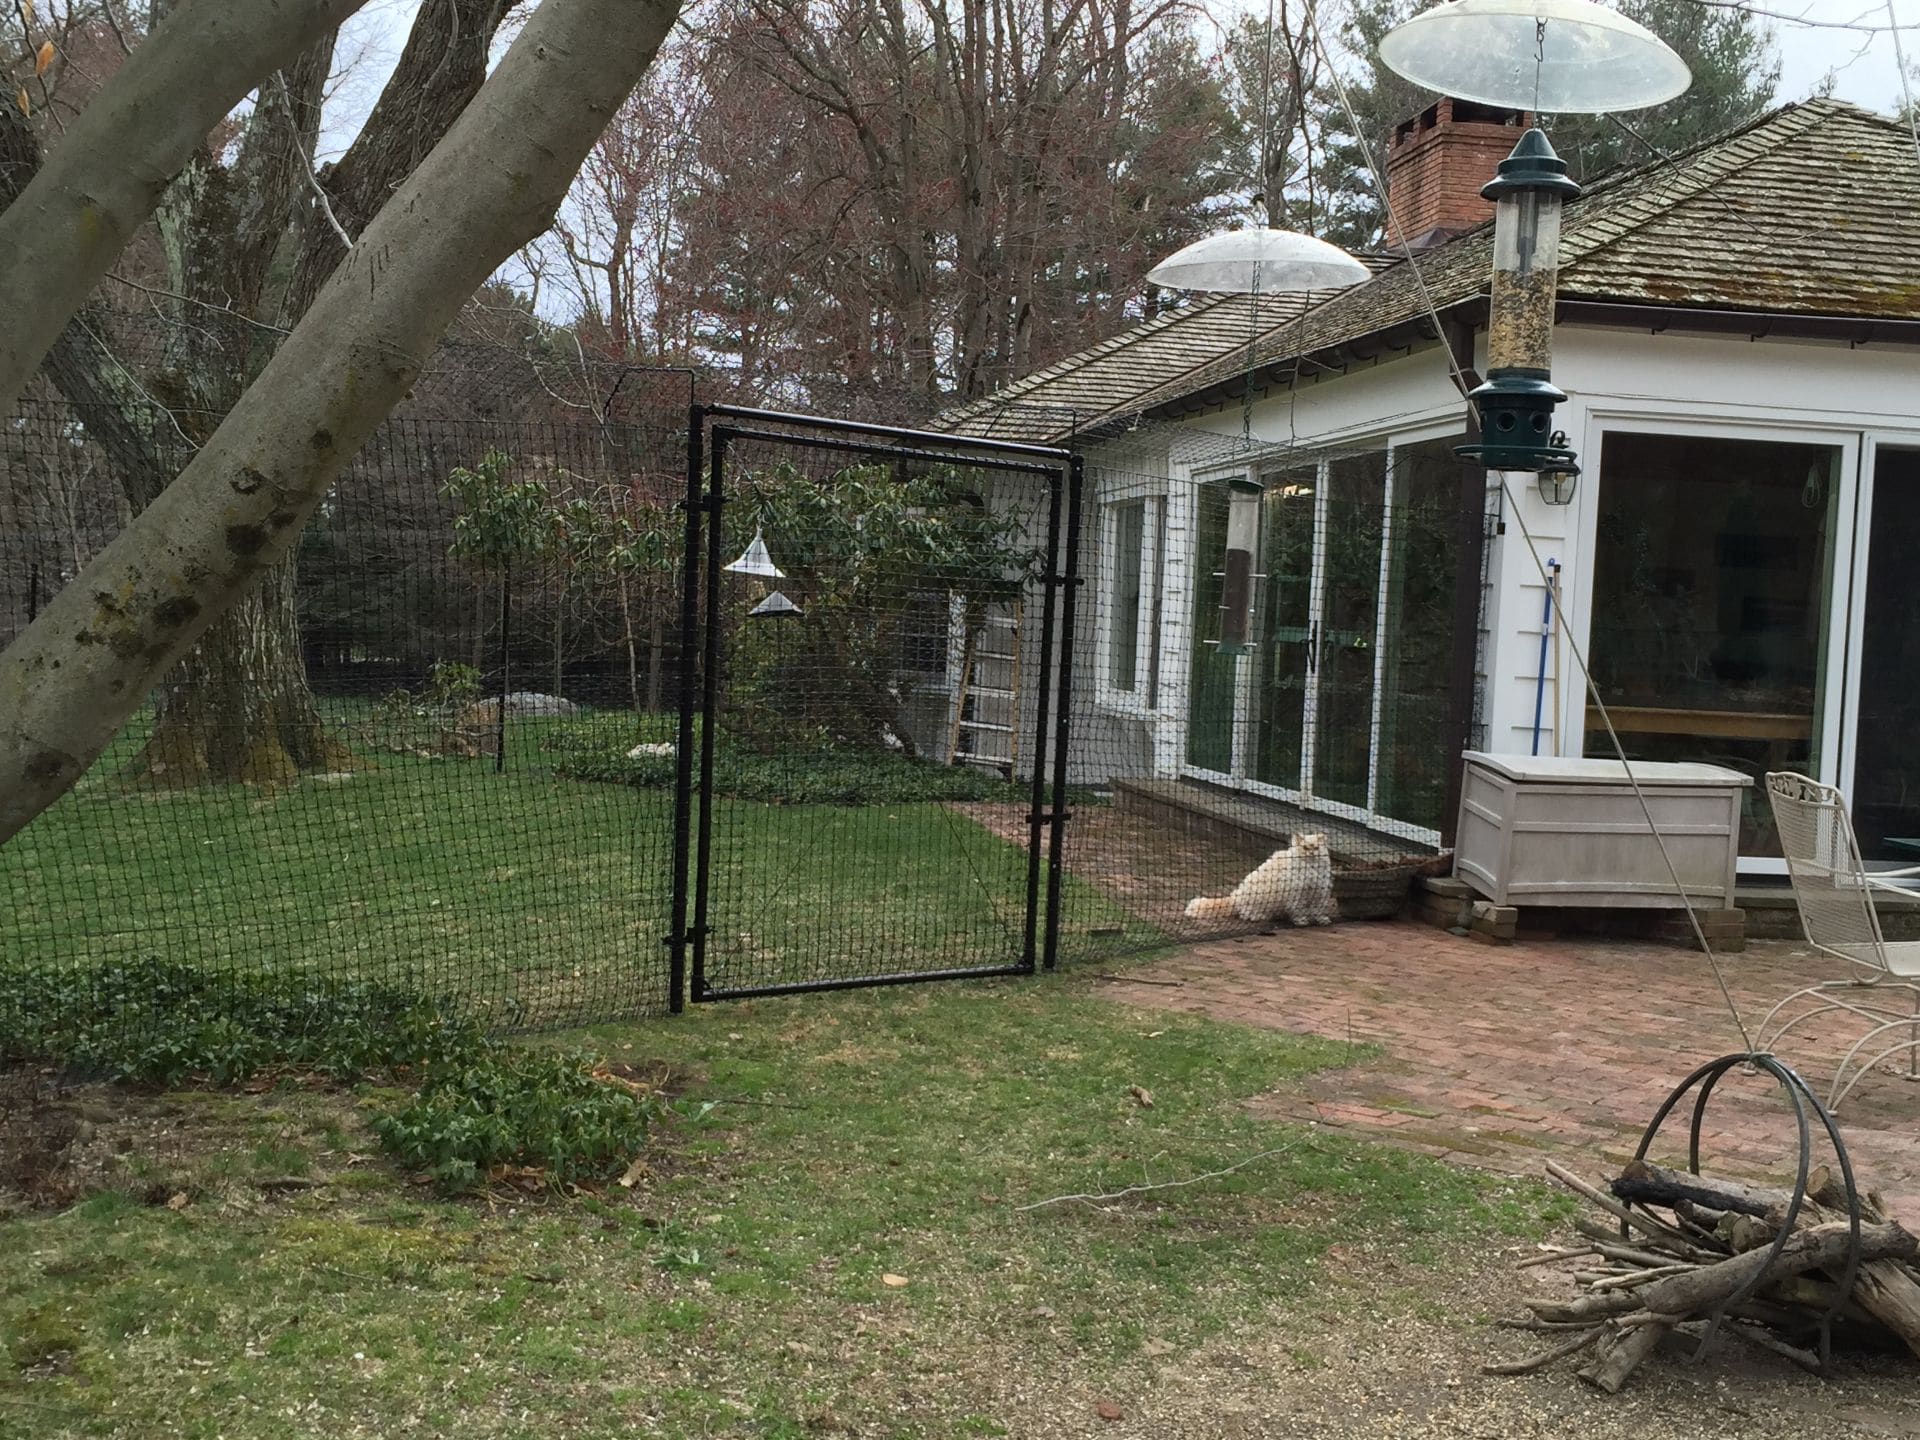
A gate is the most dynamic part of any perimeter barrier. While the rest of your fence stands stationary against wind and weather, gate assemblies experience continuous movement, latching impact, and torque. Without industrial-grade gate fittings, even the strongest poly or steel mesh barrier quickly fails at the opening.
To build a reliable gate, you need a complete kit of structural fittings:
- Hinges (Male and Female pairs): Pivot points that carry the weight of the gate frame.
- Corner Clamps and Elbows: Secure joints that form the outer rectangular gate frame.
- Brace Clamps and Center Clamps: Internal structural connectors for horizontal and diagonal support pipes.
- Tensioning Hardware: Turnbuckles and stainless steel diagonal cables that eliminate gate sag.
- Fasteners: Self-tapping screws and carriage bolts that lock hardware securely to steel tubing.
All outdoor fittings should feature heavy-duty galvanized steel construction coated with a UV-resistant black powder finish. This ensures your gate blends seamlessly into wooded landscapes while resisting rust and corrosion. Whether you are building an access portal for a garden or integrating entryways into non-electric fence barrier systems, investing in purpose-built gate kits provides the structural integrity needed to withstand daily use.
Male vs. Female Hinges for Gate Posts
Deer fence gate hinges operate as a two-part pin-and-collar mechanism. Understanding the difference between male and female hinges ensures smooth gate swinging and proper latch alignment.
The male hinge features an upward-facing or downward-facing solid steel pin. It attaches directly to your stationary hinge post (the terminal post set into the ground). The female hinge features a circular collar (or strap loop) that slides over the male pin. It clamps securely to the vertical frame pipe of your swinging gate.
For standard gates up to 6 feet wide, a 1 5/8 Male Hinge With Bolt And Nut ($5.49) paired with a 1 3/8 Female Hinge With Bolt And Nut ($5.49) is the industry standard setup. For wider, heavier equipment gates or 8-foot-tall deer gates, stepping up to a 2 1/2 Male Hinge With Bolt And Nut ($5.95) on your terminal post provides the rigidity needed to prevent post deflection.
Pro tip for security: Install the top male hinge with its pin pointing down and the bottom male hinge with its pin pointing up before sliding the female collars into place. This prevents intruders or lifting forces from unhooking the entire gate off its pivot points!
Brace Hardware and Center Clamps for Structural Integrity
Tall deer gates (typically 7 to 8 feet high) catch substantial wind and experience high rotational leverage. Simple four-corner outer frames will twist over time without internal bracing.
This is where brace hardware and center clamps become essential:
- Center Clamps: These two-piece stamped steel clamps join perpendicular cross-pipes without requiring welding or drilling large structural holes. The 1 3/8 to 1 3/8 Black Center Clamp Hardware ($14.99) connects a horizontal spreader bar between two 1 3/8-inch gate frame uprights. If your gate frame utilizes a heavier center post, the 1 5/8 to 1 3/8 Black Center Clamp Hardware ($14.99) transitions smoothly between varying tube diameters.
- Brace Hardware (End/Strut Clamps): These fittings connect diagonal structural brace pipes from the top corner down to the bottom hinge corner. Utilizing 1 5/8 to 1 3/8 Brace Hardware ($9.95) creates a rigid truss inside the gate frame, distributing wind loads and preventing frame racking.
Turnbuckles and Self-Tapping Screws for Gate Alignment
Even well-built metal frames can settle over time. A mechanical anti-sag system allows you to make micro-adjustments to keep your gate perfectly square across its lifespan.
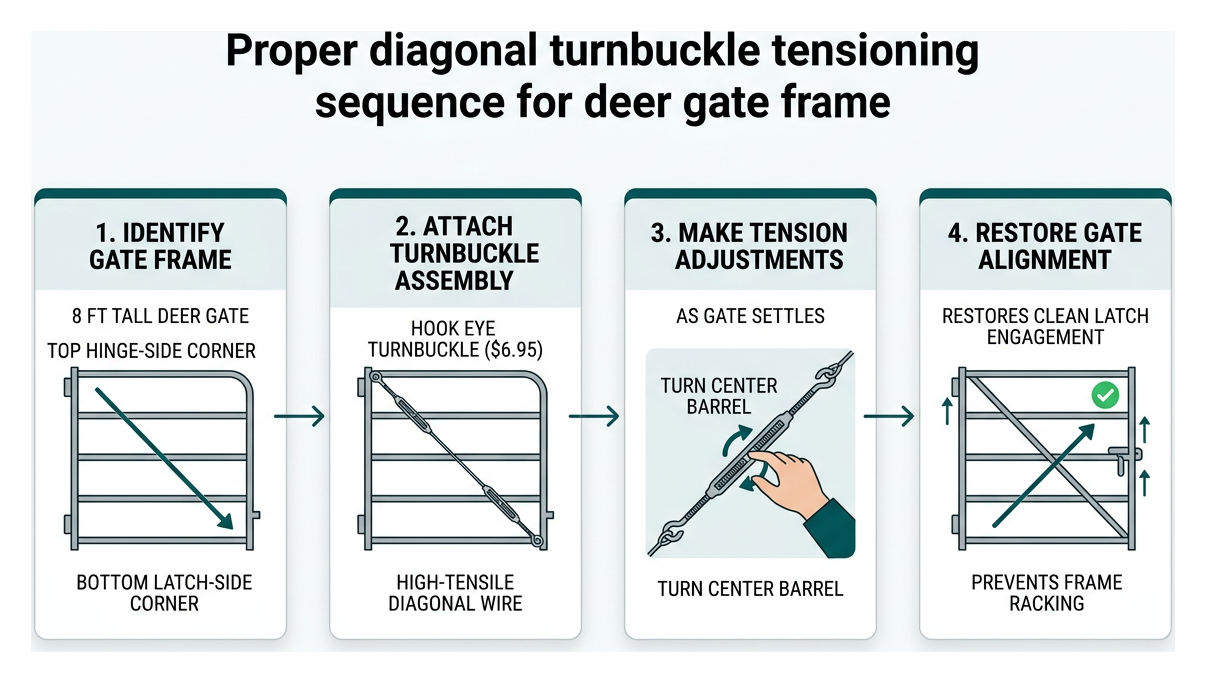
A Hook Eye Turnbuckle ($6.95) paired with a high-tensile diagonal wire forms the backbone of an adjustable anti-sag assembly. Connect the turnbuckle from the top hinge-side corner down to the bottom latch-side corner. As the gate settles, simply turn the center barrel of the turnbuckle to pull the latch side upward, restoring clean latch engagement in seconds.
To lock every clamp and hinge firmly against rotational slip, fasten them with Black Self Tapping Phillips Head Screws 25pk ($5.95). Driving these hardened steel screws directly through the hardware collar into the steel pipe prevents clamps from sliding under tension or heavy snow loads.
Sizing Guide: Matching Clamps and Hinges to Post Dimensions
Fencing hardware failure almost always comes down to incorrect sizing. In the fencing world, pipe dimensions refer to Outside Diameter (OD). A common DIY mistake is confusing nominal plumbing pipe sizes (which measure inside diameter) with structural fence tubing dimensions.
When planning your layout and calculating overall deer fence cost in 2026, reference the compatibility matrix below to match your post sizes to the correct hardware:
| Post / Tubing OD | Hardware Type | Part Description | Unit Price |
|---|---|---|---|
| 1 3/8" OD | Female Hinge | 1 3/8" Female Hinge With Bolt And Nut | $5.49 |
| 1 3/8" to 1 3/8" | Center Clamp | 1 3/8" to 1 3/8" Black Center Clamp Hardware | $14.99 |
| 1 3/8" to 1 3/8" | End Clamp | 1 3/8" to 1 3/8" End Clamp Hardware | $9.95 |
| 1 5/8" OD | Male Hinge | 1 5/8" Male Hinge With Bolt And Nut | $5.49 |
| 1 5/8" to 1 3/8" | Center Clamp | 1 5/8" to 1 3/8" Black Center Clamp Hardware | $14.99 |
| 1 5/8" to 1 3/8" | Brace Hardware | 1 5/8" to 1 3/8" Brace Hardware | $9.95 |
| 1 3/8" to 1 5/8" | End Clamp | 1 3/8" to 1 5/8" End Clamp Hardware | $9.95 |
| 1 5/8" to 1 5/8" | Brace Hardware | 1 5/8" to 1 5/8" Brace Hardware | $9.95 |
| 2 1/2" OD | Male Hinge | 2 1/2" Male Hinge With Bolt And Nut | $5.95 |
| 2 1/2" to 1 5/8" | Brace Hardware | 2 1/2" to 1 5/8" Brace Hardware | $10.95 |
Selecting Deer Fence Hardware for 1 3/8-Inch and 1 5/8-Inch Posts
Standard residential garden enclosures and perimeter deer fencing typically rely on 1 5/8-inch OD line posts paired with 1 3/8-inch OD gate frame tubing.
When building an end terminal or joining a gate post to a run:
- Use the 1 3/8 to 1 3/8 End Clamp Hardware ($9.95) to cap and connect interior horizontal gate pipes.
- Use the 1 3/8 to 1 5/8 End Clamp Hardware ($9.95) to attach horizontal top rails or mid-rails from a 1 5/8-inch post run into a 1 3/8-inch corner support.
- The 1 5/8 to 1 5/8 Brace Hardware ($9.95) allows you to install 45-degree diagonal ground braces between standard 1 5/8-inch line posts at 100-foot intervals or elevation changes.
Heavy-Duty 2 1/2-Inch Hardware for Corner and Terminal Posts
Corner posts and terminal end posts absorb the continuous physical tension of the entire fence line. When pulling several hundred feet of high-tensile wire tight, 1 5/8-inch posts can bend under the horizontal load.
Upgrading corner posts to 2 1/2-inch OD schedule 40 steel tubing provides the necessary structural resistance. To brace these heavy posts, install the 2 1/2 to 1 5/8 Brace Hardware ($10.95). This fitting collars around the 2 1/2-inch vertical post and accepts a 1 5/8-inch diagonal brace pipe that anchors into the ground, ensuring your corners remain plumb season after season.
Securing Mesh and Line: Tensioning Systems and Ground Anchors
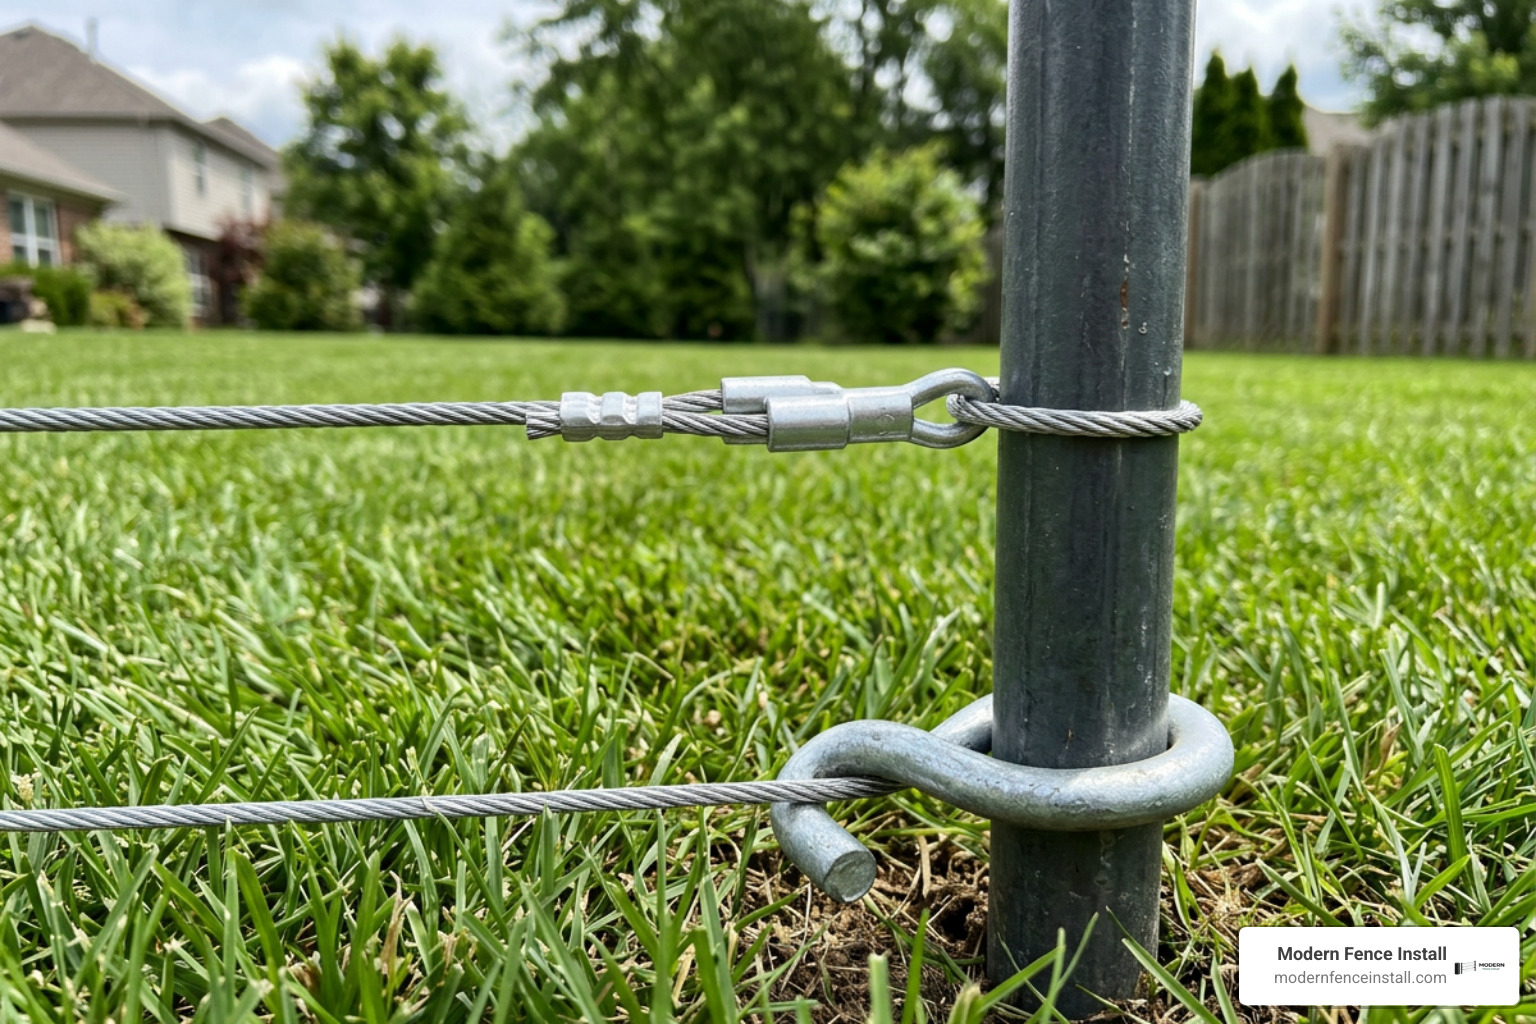
An 8-foot-tall deer fence acts as a massive physical and visual barrier. However, flexible polypropylene mesh or steel hex wire cannot stand upright on its own; it requires a rigid tensioned cable framework. High-tensile steel wire running along the top, middle, and bottom provides the necessary structure to absorb high-speed deer collisions and assist in keeping out coyotes and other wildlife.
Top and Bottom Tension Wire Mechanics
Without proper tensioning, deer fence mesh sags under the weight of winter ice and autumn leaves.
- Top Support Wire: Run a 12.5-gauge high-tensile galvanized steel wire (or 8-gauge UV-stabilized monofilament cable) through eye tops or post caps along the entire top perimeter. Tighten this line using in-line wire tighteners or cable gripples. The top edge of the fencing mesh is then hog-ringed to this cable every 12 to 18 inches.
- Bottom Tension Wire: A bottom tension line run 2 inches above the soil line keeps the base of the mesh pulled taut between posts, preventing animals from nosing underneath the barrier.
Ground Stakes and Bottom-Wire Anchors to Prevent Burrowing
White-tailed deer are notorious for testing fence bottoms. If they encounter loose mesh, they will drop to their knees and push their heads underneath. Smaller predators like coyotes, foxes, and dogs will quickly dig under unanchored fence lines.
To create an impenetrable seal:
- Flare the Mesh: Always allow an extra 6 to 12 inches of fence mesh to flare outward along the ground toward the outside of the enclosure.
- Pin with Ground Stakes: Drive 12-inch heavy-duty J-hook rebar stakes or 9-inch galvanized kinked steel stakes through the mesh flare every 2 to 4 feet.
- Secure the Overlap: Secure the flared bottom edge to the bottom tension wire using metal hog rings. Vegetation will naturally grow through the pinned mesh, effectively rooting the fence base into the sod.
Installation Pitfalls and Best Practices for Fence Longevity
A high-visibility failure on any fencing project usually stems from minor installation shortcuts. Taking time to review fence installation learning resources before breaking ground helps you avoid common structural pitfalls.
Installation Mistakes That Weaken Deer Fence Hardware
Avoid these frequent assembly errors to ensure maximum system longevity:
- Overtightening Self-Tapping Screws: Stripping out pilot holes in thin-walled tubing reduces shear strength. Set your drill clutch to medium torque when driving screws.
- Mismatched Clamp Diameters: Forcing a 1 3/8-inch clamp onto a 1 5/8-inch pipe bends the hardware ears, prevents the carriage bolt from seating properly, and damages the protective powder coating.
- Installing Turnbuckles Backwards or Extended: Always install a turnbuckle with its body extended 80% outward. This gives you maximum travel distance to tighten the cable as the gate settles over time.
- Skipping Diagonal Corner Braces: An unbraced corner post will lean inward under cable tension, causing the entire fence line to go slack.
- Insufficient Ground Stake Spacing: Spacing stakes 8 to 10 feet apart leaves wide gaps where deer can push beneath the barrier. Keep stake spacing to a maximum of 3 to 4 feet in flat areas, and 2 feet across dips and swales.
Step-by-Step Hardware Assembly and Maintenance Checklist
Following a disciplined setup sequence ensures your fence stands strong for decades:
- Set Terminal & Corner Posts: Drive heavy-duty corner posts and install diagonal braces using 2 1/2 to 1 5/8 Brace Hardware ($10.95).
- Hang Gate Frame: Mount Male Hinges to the hinge post and Female Hinges to the gate frame. Secure with carriage bolts and Black Self Tapping Screws ($5.95).
- Install Anti-Sag Hardware: Connect the Hook Eye Turnbuckle ($6.95) diagonally and tension until the gate frame is square.
- Run Tension Cables: String top and bottom high-tensile wire; tension until straight with zero mid-span deflection.
- Fasten Mesh & Ground Anchors: Attach mesh to cables using hog rings, flare the bottom 6 inches, and drive J-hook ground stakes.
For busy homeowners seeking professional execution, our streamlined 30-day fence install process delivers turnkey perimeter protection without the DIY hassle.
Frequently Asked Questions About Deer Fence Gate Hardware
How do I choose between male and female gate hinges?
Male hinges feature the stationary pivot pin and attach to the fixed fence post set in the ground. Female hinges feature the collar loop and clamp onto the swinging gate frame pipe. Choose hinge sizes that match the exact outside diameter (OD) of your pipes: standard setups use a 1 5/8-inch or 2 1/2-inch male hinge on the post paired with a 1 3/8-inch female hinge on the gate frame.
What hardware prevents a deer fence gate from sagging over time?
To eliminate gate sag, combine a rigid internal diagonal brace pipe (secured with 1 5/8 to 1 3/8 Brace Hardware) with an adjustable Hook Eye Turnbuckle ($6.95) cable kit running from the top hinge corner down to the bottom latch corner. Tightening the turnbuckle lifts the latch side of the frame back into alignment.
Do I need brace clamps on every gate corner?
Yes. Gate corners experience substantial dynamic shock whenever the gate latches shut. Using corner clamps alongside internal spreader bars secured with 1 3/8 to 1 3/8 Black Center Clamp Hardware ($14.99) prevents the rectangular frame from twisting under wind and impact loads.
Conclusion
Building a dependable deer barrier requires more than simply unrolling mesh—it demands high-quality, corrosion-resistant galvanized and powder-coated hardware. From heavy-duty male and female hinges to precise brace clamps and anti-sag turnbuckles, choosing properly sized components protects your landscape investment year after year.
If you prefer a seamless, professionally engineered perimeter, our team at Modern Fence Install provides discreet, non-electric steel-cable and low-visibility mesh systems tailored to your property. Explore our deer fence service today to secure your grounds with dependable, long-lasting containment solutions.