Most HOAs don't ban dog fencing — they ban specific looks. If you read your community's covenants carefully, you'll usually find the door is wider than people assume. The vast majority of HOA fence rejections we see could have been approvals with a different submission strategy and a different fence style.
This guide walks through what HOAs actually evaluate, the fence type that gets approved in 90%+ of communities we work in, how to put together a submission packet that gets a yes the first time, and what to do if you've already been rejected.
What HOAs actually care about
- Visual prominence from the street — the lower the visual impact, the easier the approval.
- Material consistency with the community aesthetic.
- Height — typically capped at 4–6 ft in front yards, 6–8 ft in back.
- Color — black is almost universally approved; white, green, and natural-wood less so.
- Placement — setbacks from property lines and sidewalks (often 5–10 ft).
- Maintenance commitment — HOAs care more about a fence that will look bad in 5 years than one that looks bad today.
- Precedent — what's already been approved in your community.
The fence type most HOAs approve
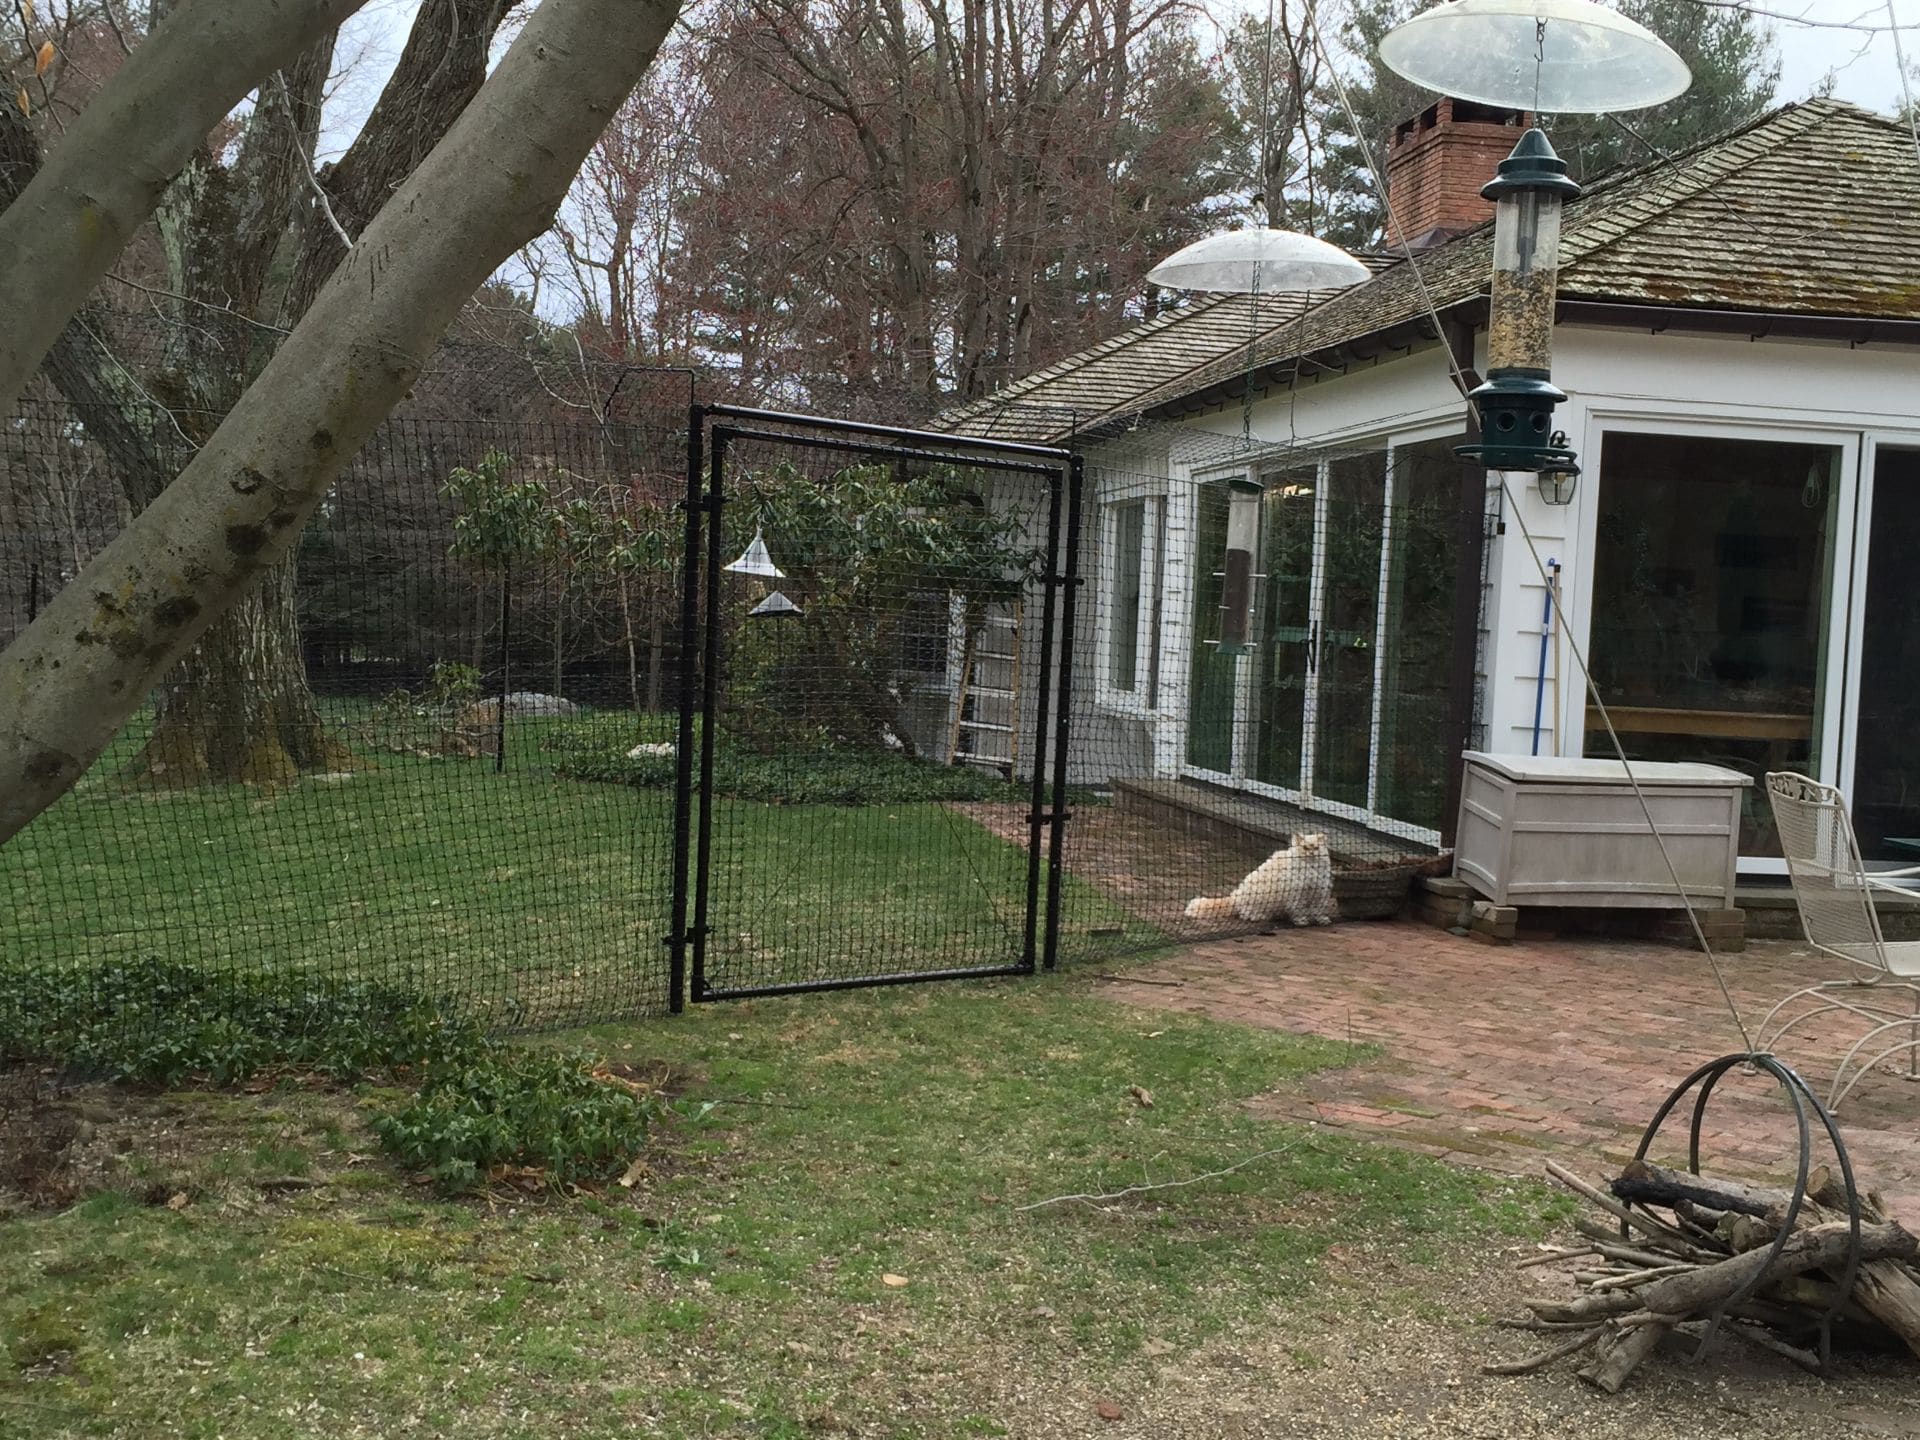
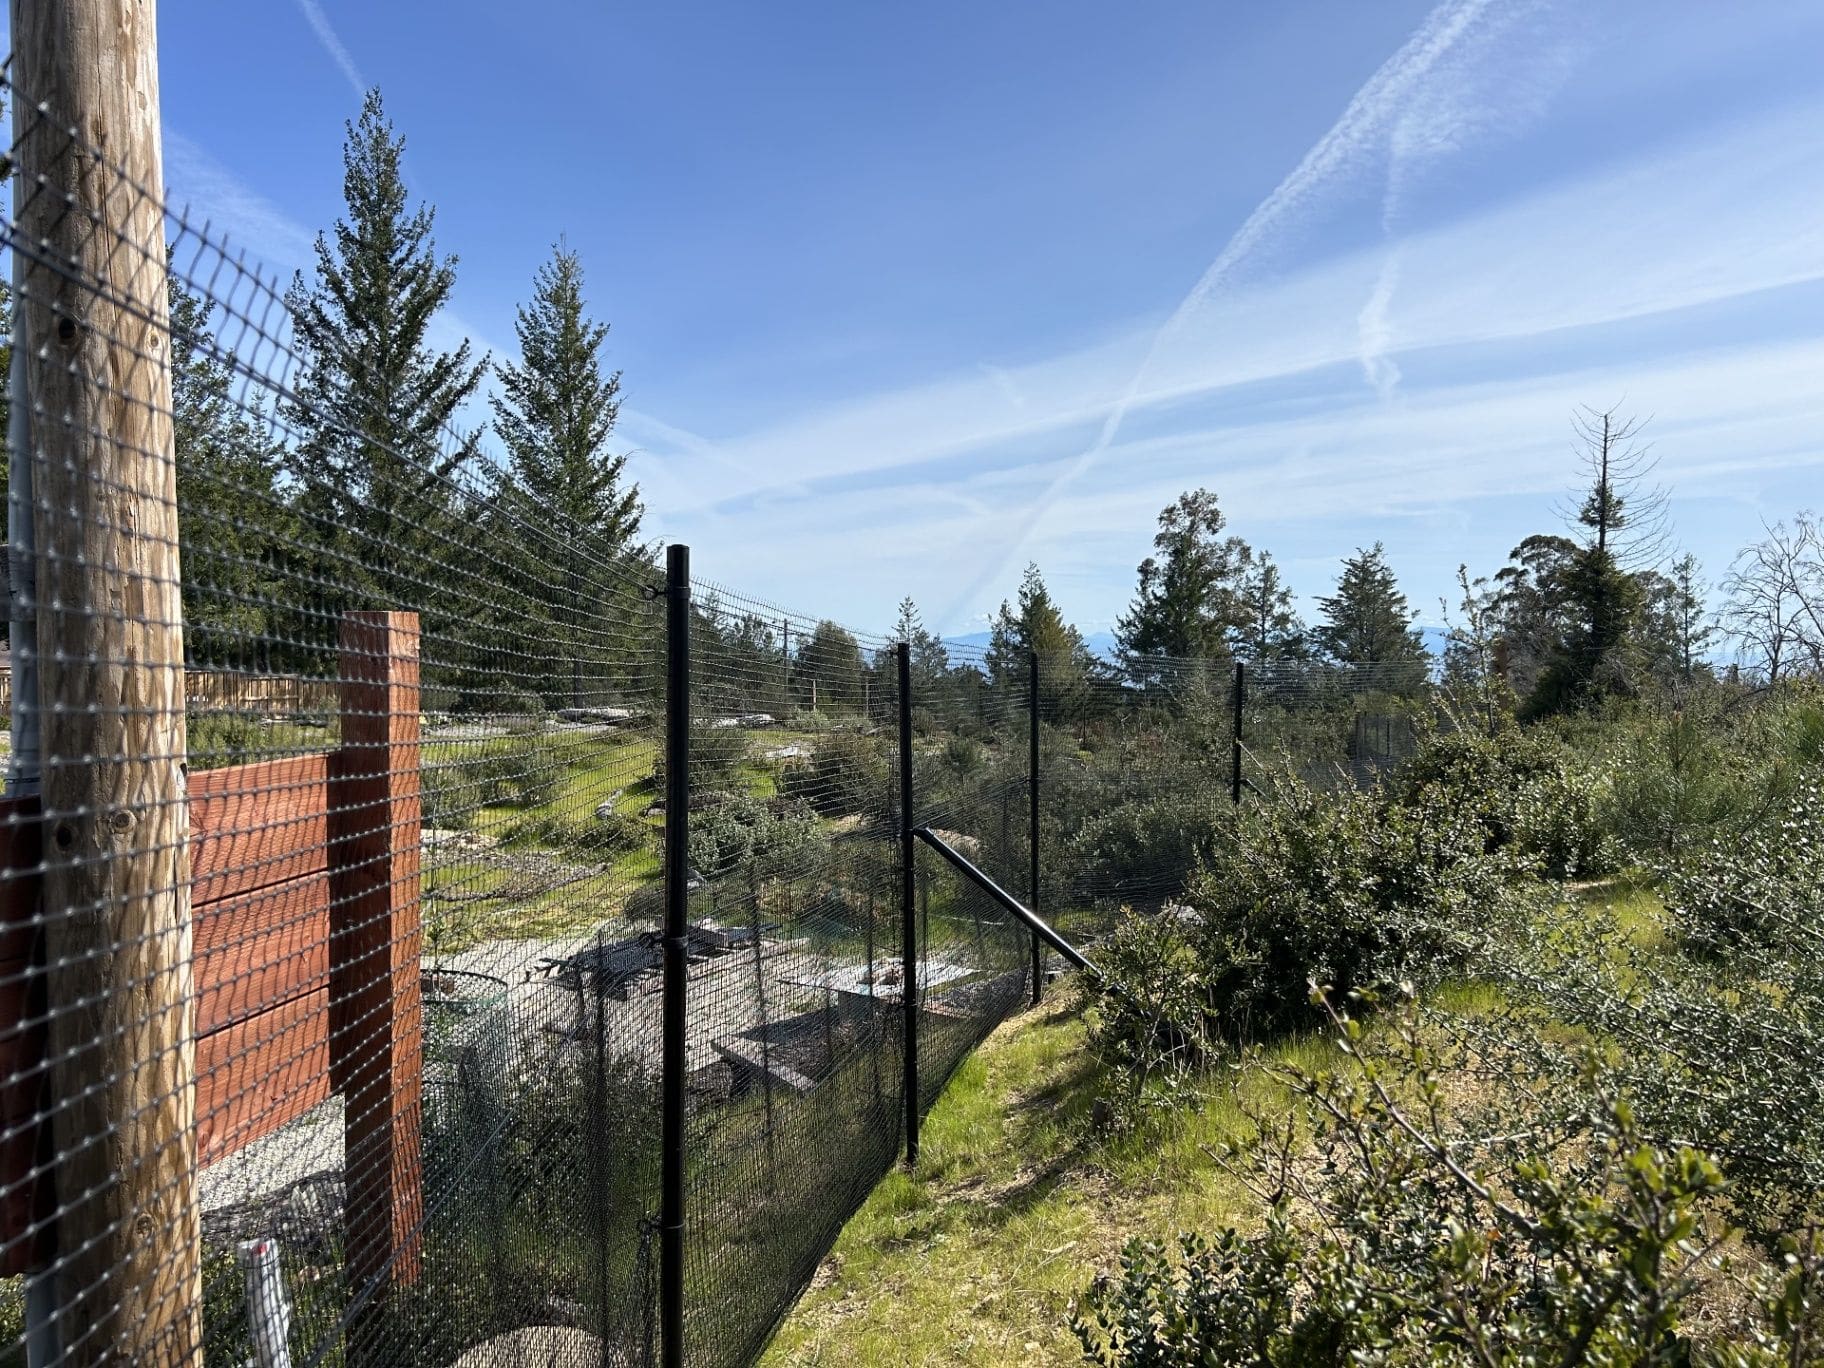
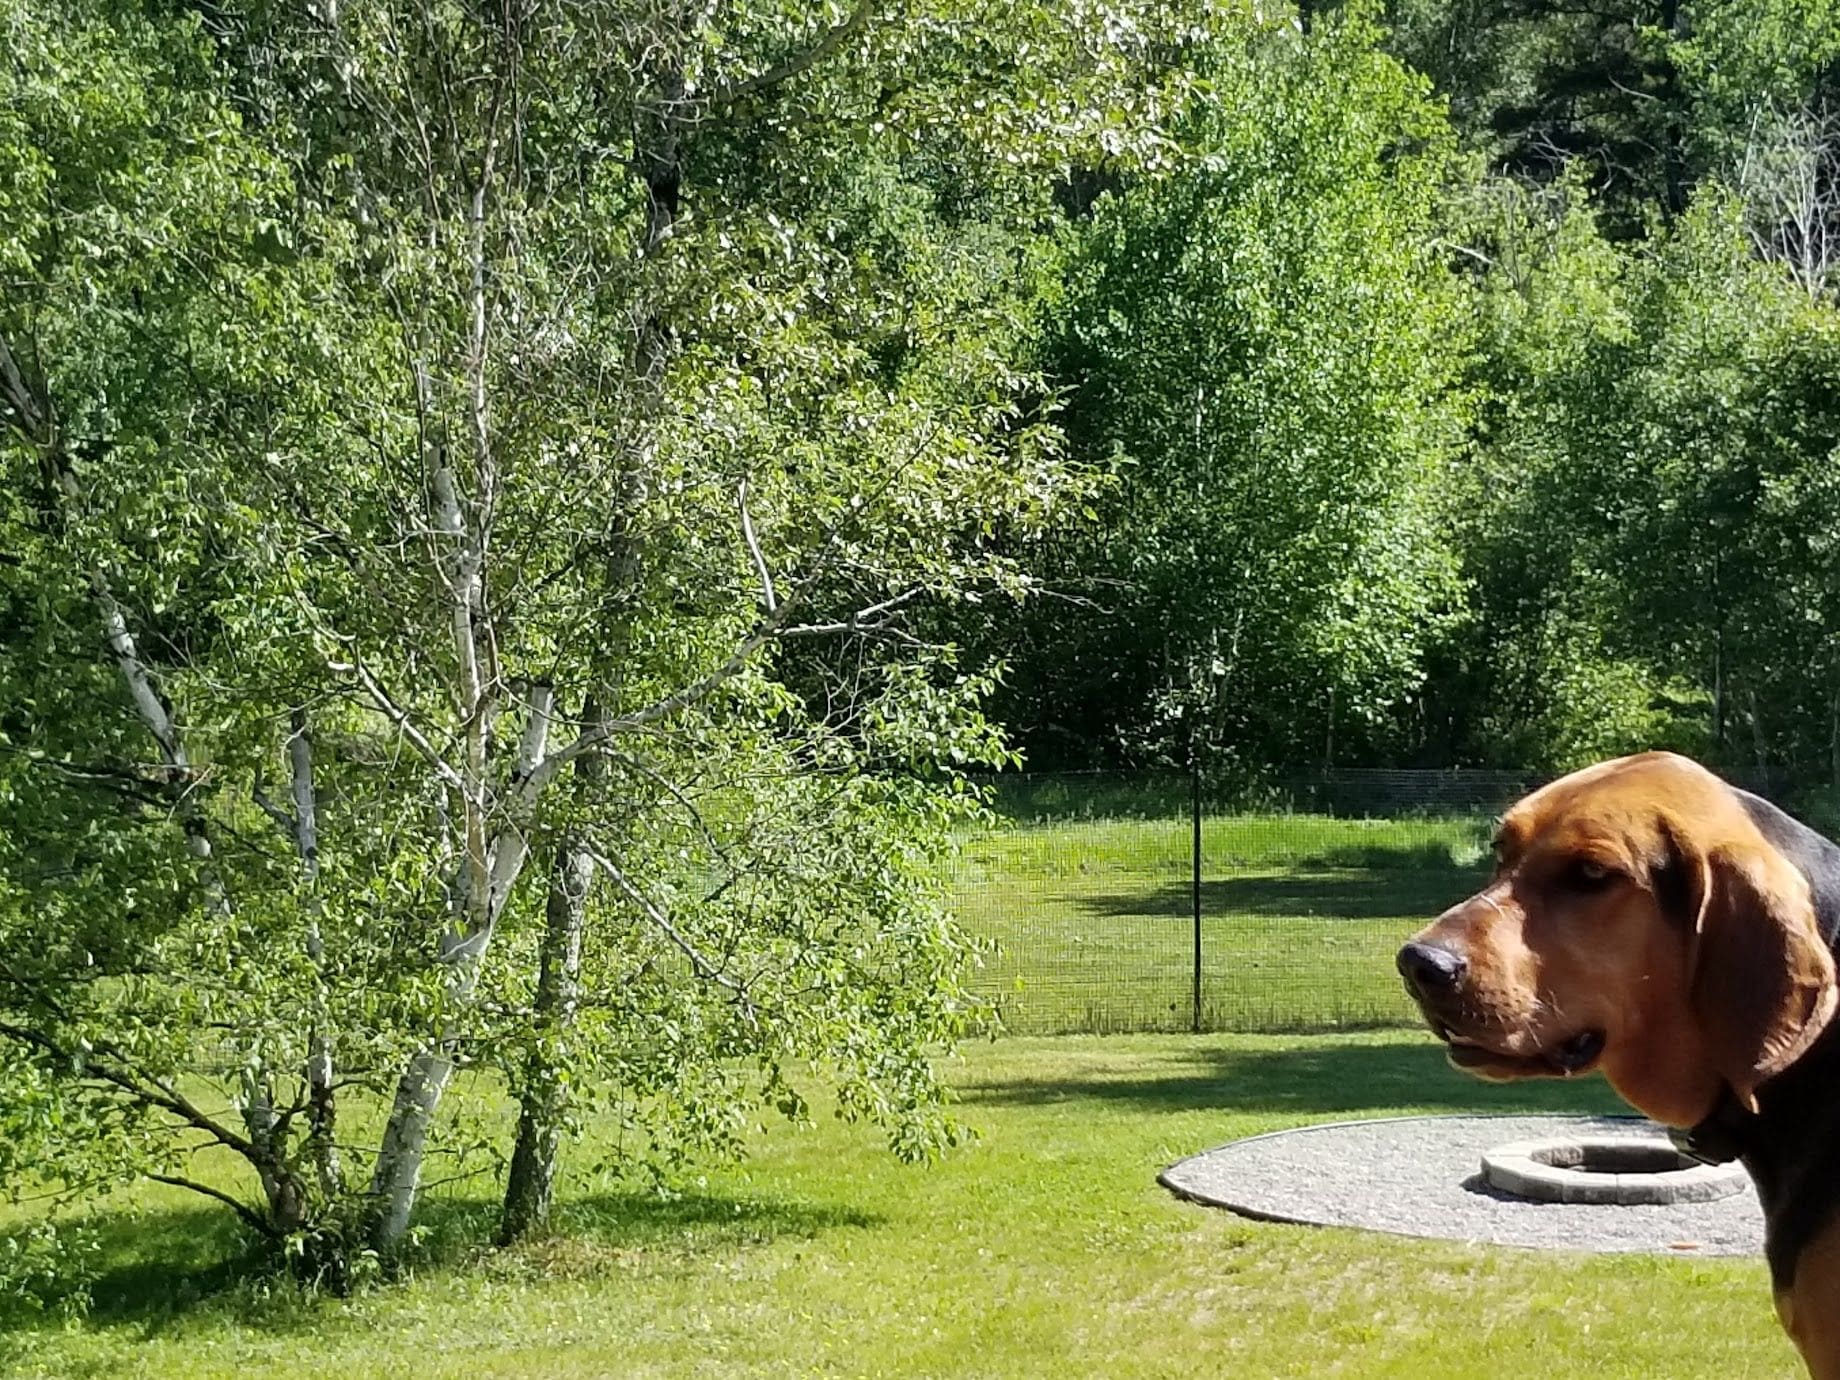
Black mesh on slim black posts is the single most-approved residential fence style in the US. It satisfies the 'low visual impact' requirement that most HOAs use as their actual standard, even when they list specific banned materials. From 30 feet away it nearly disappears against a wooded or shrub-lined yard, which is exactly what HOA boards are trying to preserve.
| Fence type | Typical HOA approval rate | Why |
|---|---|---|
| Black mesh on black posts | Very high | Low visibility; matches modern aesthetic standards |
| Black aluminum picket | High | Decorative, traditional look; but more visible |
| Wrought iron | High in upscale HOAs | Matches estate aesthetic; expensive |
| Wood privacy (6 ft) | Mixed | Banned in many newer communities for blocking views |
| Vinyl privacy (white) | Low | Highly visible; often banned outright |
| Chain link (uncoated) | Very low | Banned in most HOAs as 'utilitarian' |
| Coated chain link (black/green) | Mixed | Sometimes approved with screening plantings |
Reading your covenant before you submit
Before you waste an application, dig out your community's CCRs (Covenants, Conditions & Restrictions) and the Architectural Review Committee (ARC) guidelines. Look for these specific sections:
- Permitted fence materials — usually a positive list (only these are allowed).
- Maximum heights by yard zone (front, side, rear).
- Required setbacks from sidewalks, streets, and adjacent lots.
- Color and finish requirements.
- Whether shared boundary fences require neighbor sign-off.
- Application deadlines and review committee meeting cadence (some only meet monthly).
Building a winning submission packet
A bulletproof packet has 6 pieces. ARC committees are volunteers who review applications quickly; making their job easy is the single biggest factor in approval speed.
- A site plan showing fence location, setbacks, and gates.
- Specifications: height, mesh color, post color, hardware finish.
- Photos of the actual product being installed (manufacturer cut-sheet works).
- Photos of comparable approved installs.
- A short statement of purpose — why you need the fence (dog safety, deer browse, etc.).
- The contractor's license, insurance, and warranty information.
What to do if you're rejected
- Request the specific covenant section being cited — vague rejections aren't binding.
- Propose modifications (lower height, additional setback, plantings to soften the visual line).
- Ask for a variance with supporting photos and statements of purpose.
- Get neighbor letters of support — adjacent neighbors carry weight.
- Cite safety arguments if applicable (containment of a reactive dog, child safety, pool fencing requirements).
- Appeal to the full HOA board if the ARC denies — board policies sometimes override committee decisions.
Common-sense modifications that get approval
- Drop front-yard sections to 4 ft, keep back yard at 6 ft.
- Add evergreen screening plantings (boxwood, holly, arborvitae) along visible sections.
- Use the smallest-diameter posts available.
- Choose black over any other color (it visually disappears at distance).
- Use a continuous mesh style with no horizontal rails for a less 'fence-like' look.
- Setback the fence 1–2 ft inside the property line and plant in front.
Working with shared-boundary neighbors
Even when not legally required, getting written sign-off from neighbors whose property abuts the fence prevents 90% of post-install conflicts. Send a one-page note with the fence design, your install date, and a request for any objections in writing. Most respond positively when consulted in advance — and the paper trail protects you if someone changes their mind later.
Ready to talk specifics?
Get a custom dog fence installation quote
Free virtual consultation, no pressure, custom recommendation for your property. Your install timeline is confirmed in your written proposal.